


This is our first DIY article for you guys. We would say it has been inspired by yarn from our mom’s collection. Earlier our mother used to weave pullover with yarn but today we are going to twist the use of yarn. We have recreated the use of yarn and we hope you will like it. DIY String Art is simple yet interesting. It would not take more than 2 hours to complete. You don’t require any expensive material for making it. Most of the things you can find in your storeroom. If not in the storeroom, worry not, it is not expensive and you can get easily from nearby local stores or online. We have also given links if you want to buy online. So, let’s get started without wasting time.
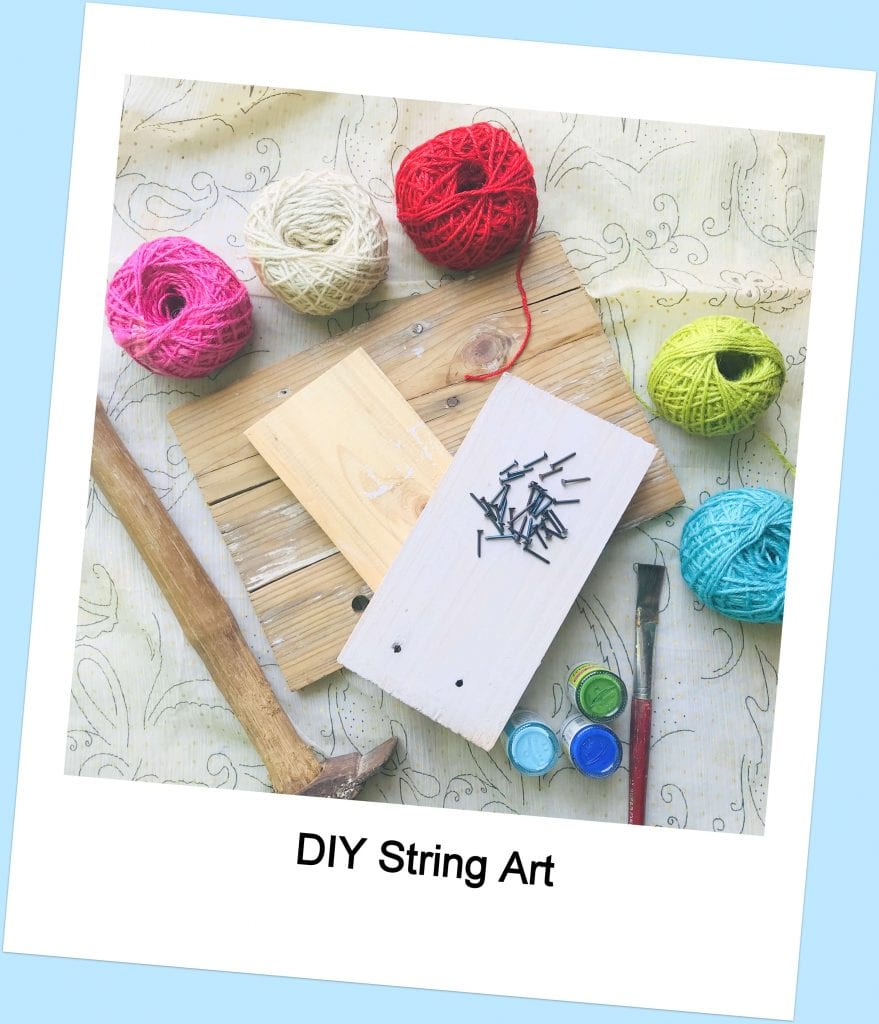
Things you need:
- Chalk
- A wooden piece (8 x 5 inch)
- An acrylic colour of your choice
- A paintbrush
- Some coloured yarn, colour can be the one you like. (I will suggest you use contrasting colours)
- Nails
- Hammer
- A pair of scissors
String Art DIY Steps:
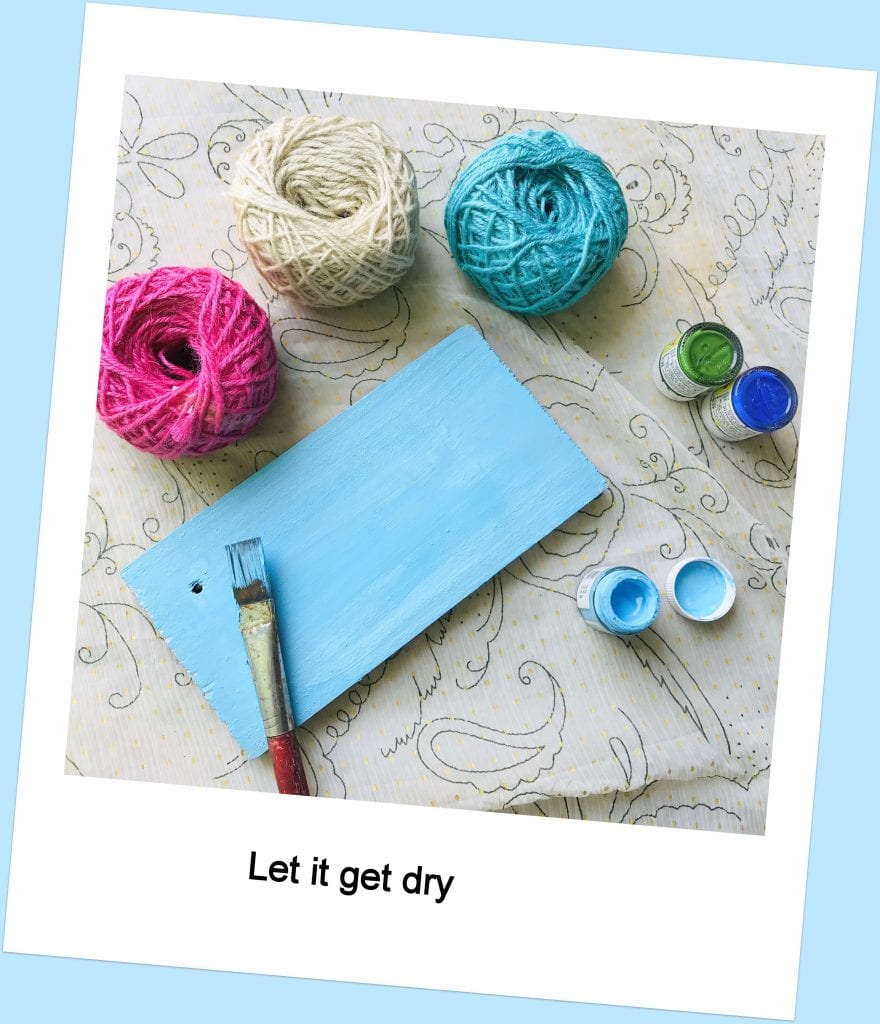
1. Firstly let’s start with preparing our piece of wood, Grab some paint and let the art therapy begin. We will suggest you to closely watch the brush filled with paint doing its magic, isn’t it mesmerizing?

2. Let the wood dry for about 40 minutes.

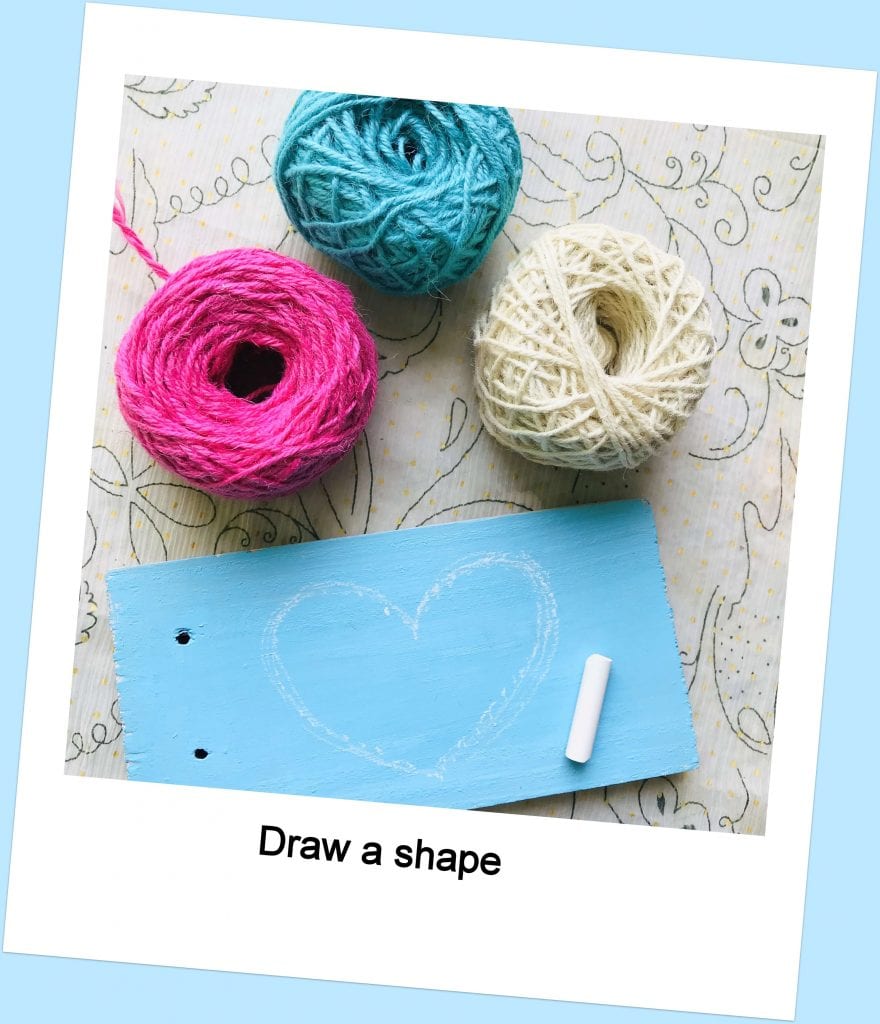
3. Once it’s dry, draw a shape using chalk, if you are not so sure about it then draw it on paper using a pencil or can take a printout and then cut the shape out.
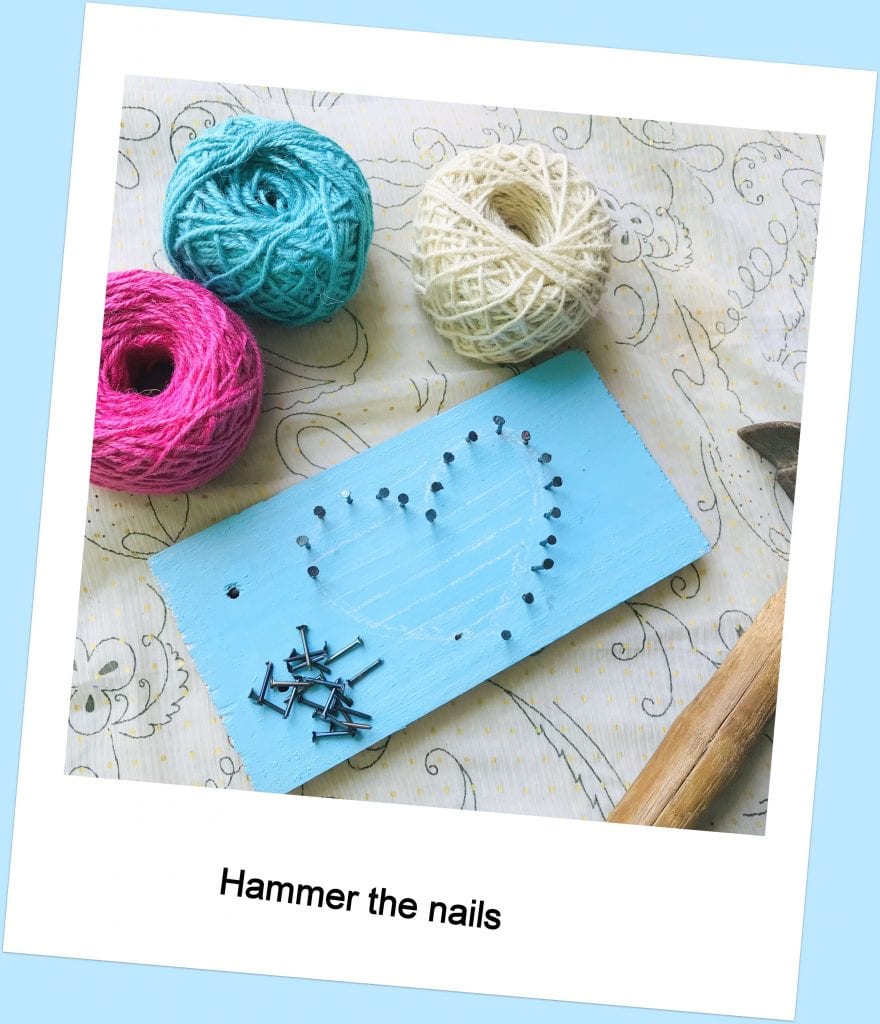
If you are using the paper method then put the shape on the wood and hammer the nails around it, once you are done you can rip the paper off of the wood. Make sure all the tiny bits of paper are removed.
4. If you have drawn the shape on the wood only then, We would suggest you draw straight lines and hammer the nails around the edges of these lines.
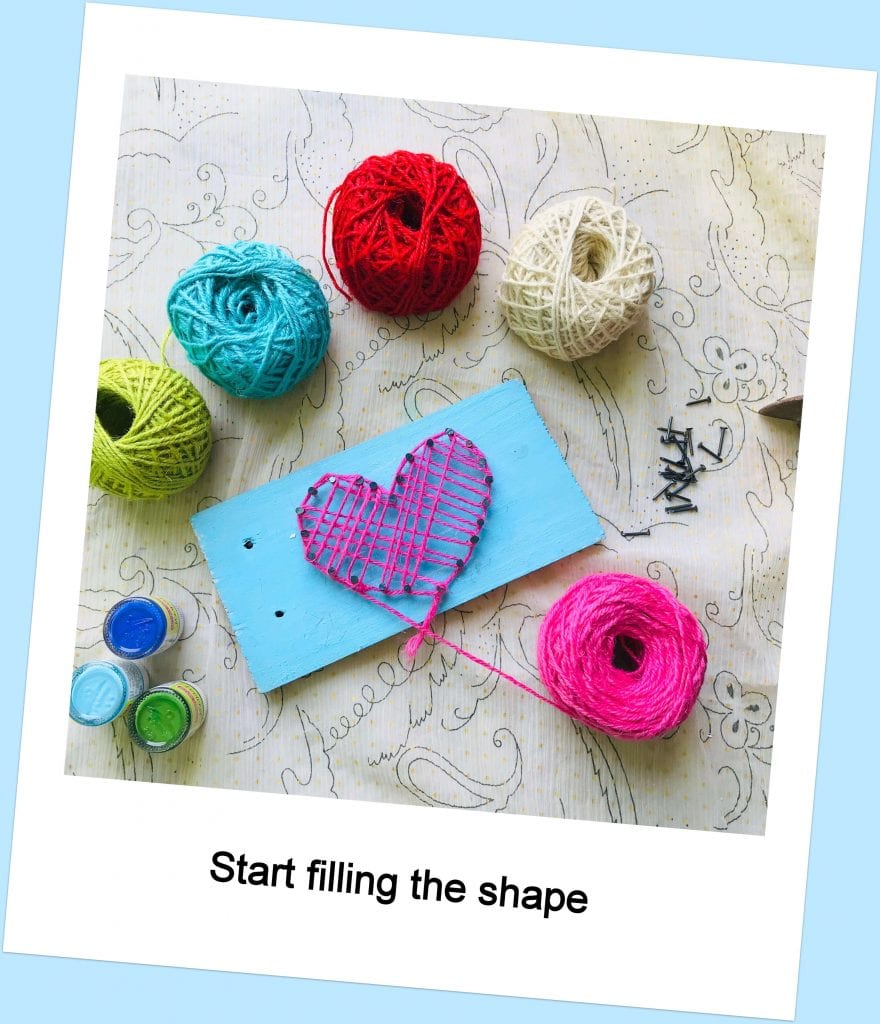
5. Once you are done with the nails now let’s start with the strings.

6. You will need to complete the boundary by just wrapping the yarn once around a nail and then going to other nails, keep this going until you’re at the nail from which you’ve started.


7. After completing the boundary, now go in a criss-cross manner from one side to the other wrapping the yarn halfway around the nail, do it till the whole shape is covered.
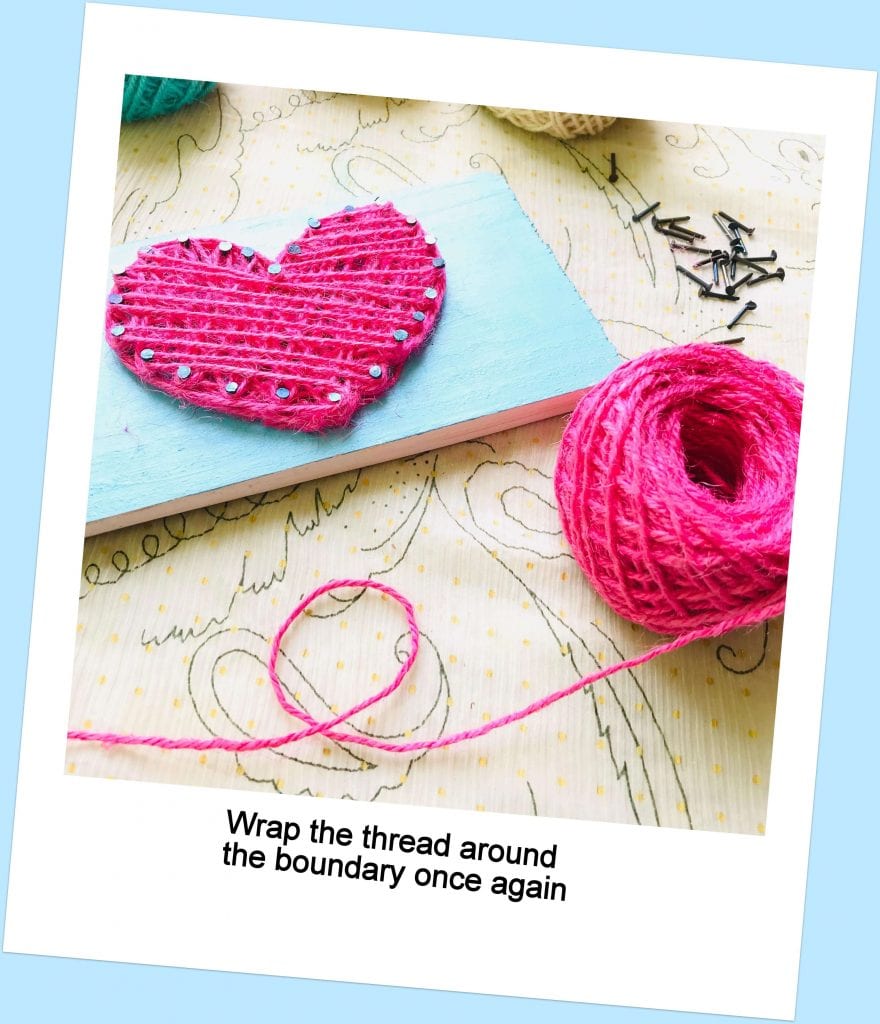
8. If you want then you can leave it here only, but if you want to give it a more closely knitted look, just like me then do the whole wrapping once again and finish it by tying the thread with the nail.
9. And Voila!!! Your beautiful string art piece is ready.

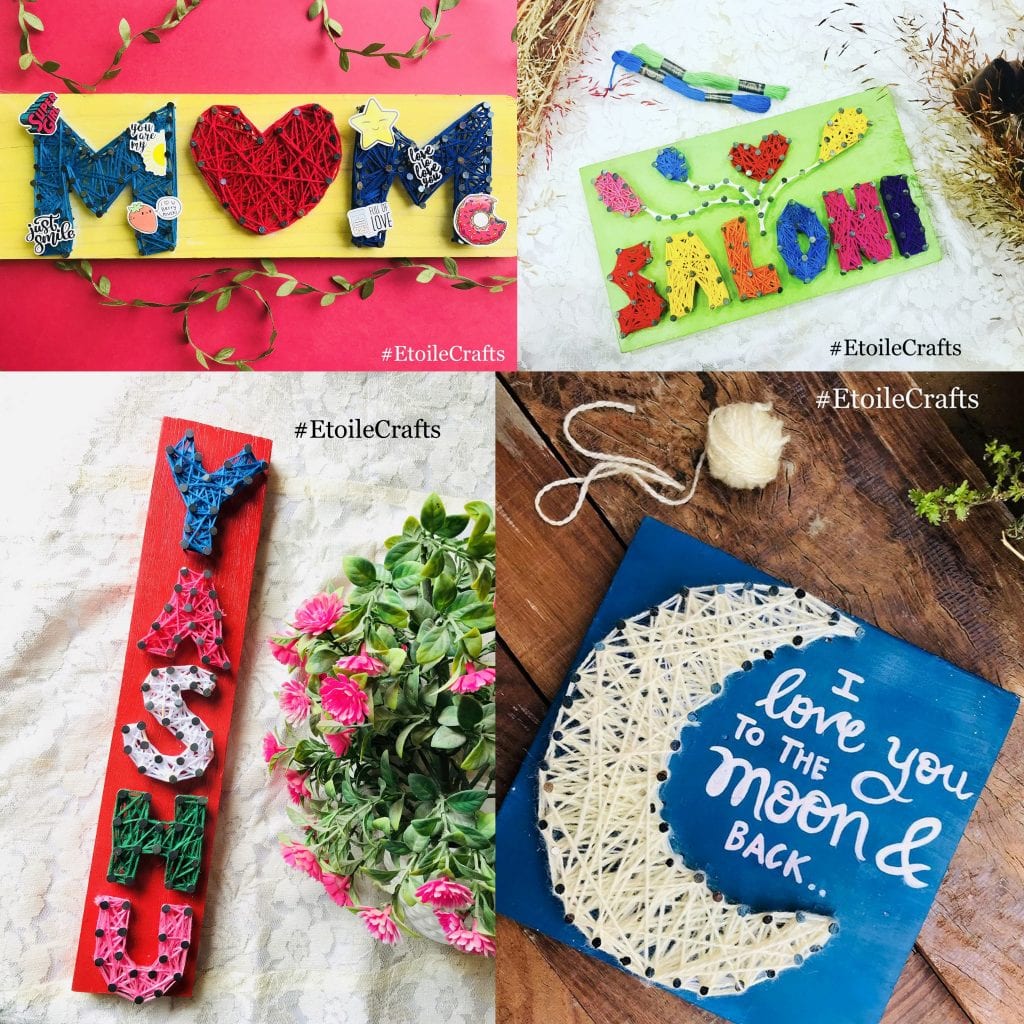
we have also tried few string arts, take a look and proceed with yours.

Also Read: Customised Designer Name Plates


")
